
In my last post about my son’s birthday party preparations I wrote about the construction of lightsabers. That was a surefire opportunity rev up the 4/5 years into bashing each other for hours with what they thought were laser swords. But I could not rest on my laurels – R2-D2 had to attend this party. I asked myself what would be the best way to do that in a fun and interactive way with the kids without taking a year to construct a droid, but also not have it look like crap. The answer:
R2-D2 Keg Mode
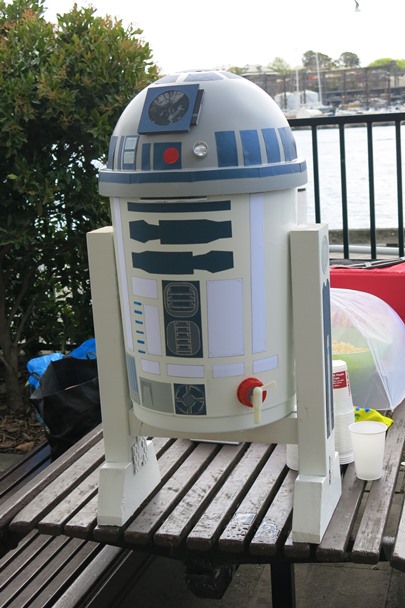
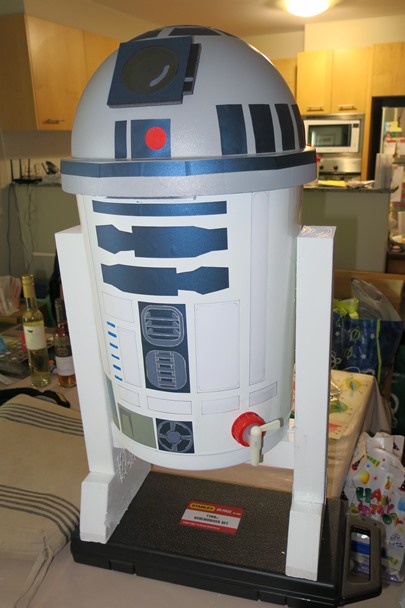
Or more correctly, an R2-D2 that functions as a drink dispenser for the kids to keep hydrated with. Here is the end result, and I got quite a reaction from the kids and parents. While it took considerably longer than the construction of the lightsabers, this was definitely more fun.
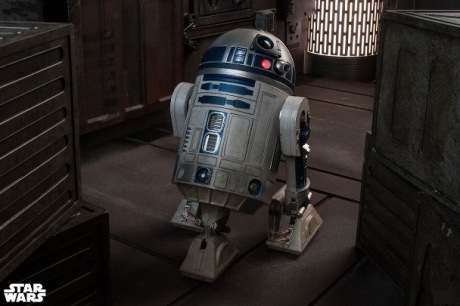
I gave myself three weeks to build this, and most of the work was done at night after work in the garage. I looked on the internet to see if anyone else had done something similar, but alas my plans are original. While it was not quite to the same standard as the little guy below, I tried to get my Artoo as accurate as possible in its construct.
Raw Materials
I put some thought about what was needed, and in the end the construct would come down to three main components:
- I would make his legs out of construction grade pine. Strong enough to support 10L+ of drinking water plus the weight of my “keg” droid.
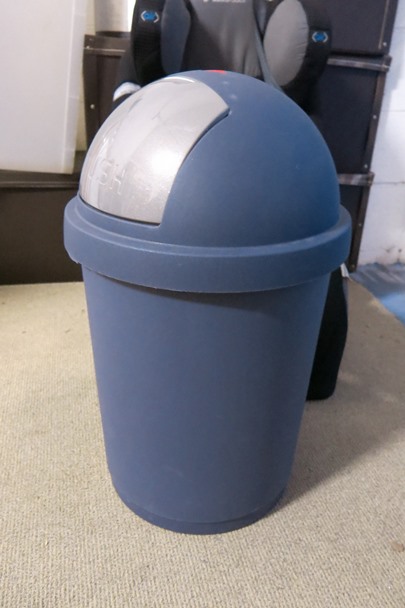
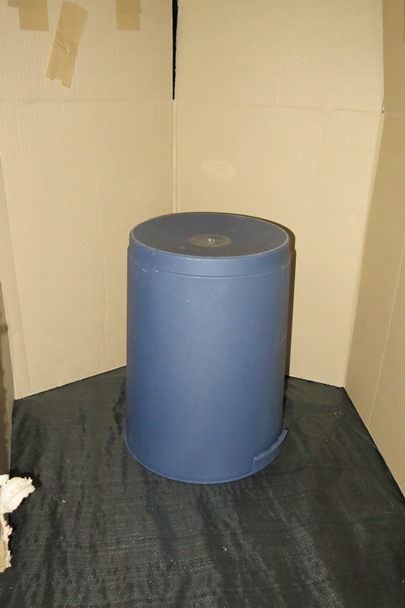
- His body would be formed from what he is commonly criticised as looking like – a “bullet” waste bin (domed lid with cylindrical body).
- A water bladder to store the drinks.
He would need to be painted and decorated to add the features. This would all be through paper, card, and a bit of art material – as well as a whole heap of concentration and improvisation. But he had to look as real as possible.
The Legs and Body
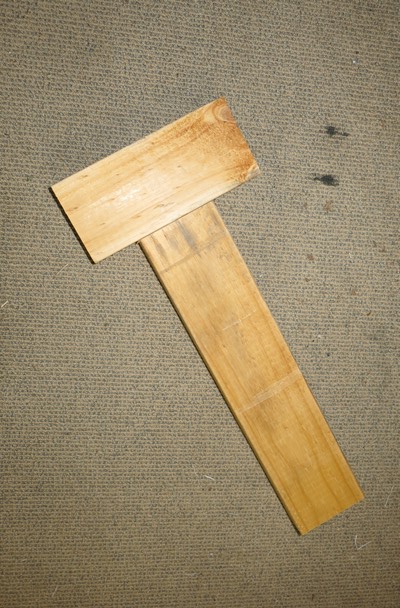
So I constructed his legs out of a couple of 4 by 2 pieces of wood. The mitre and saw came into good use again. From the two pieces of wood came his legs and feet. I went on feel this time in terms of proportions instead of direct measurements. And of course the dimensions would have to line up with the size of the body.

The off-cut would end up forming the feet. No rollers on this droid though (or rockets embedded in the legs).
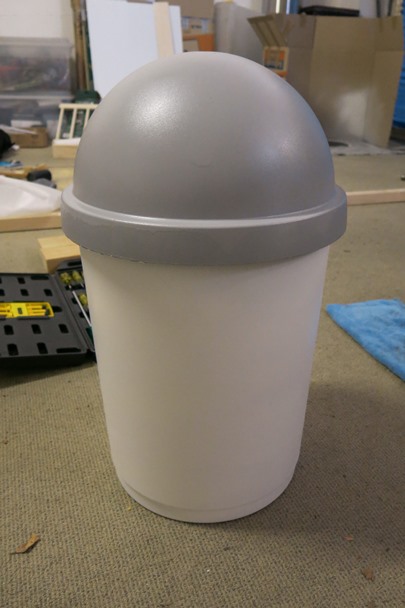
The bullet bin itself was sourced from my local hardware store. I knew exactly what I was after, but surprisingly it was not easy to find (there are a lot of square bins out there). The domed lid would form Artoo’s head, but obviously the colours were wrong – he needed a paint job. But to prepare the paint job I needed to rough up the smooth surface of the lid to grip the paint. The rest of the body needed a good clean with soapy water.
I quickly sized up the proportions of the legs and did a bit more trimming of the legs with the saw. You will also notice the cross-bar piece of wood, this would form the support of Artoo’s body as the attachment of the body to the legs was going to be a couple of screws through the plastic into the wood – maybe not strong enough to support 10+kg worth of load. My son, “The Pok”, wanted to help me do the building but he had no idea what I was doing until I sized him up. I asked him “What do you think we are building?”
He paused and then realised with a massive grin on his face, “Daddy, are we building Artoo?” – you bet.
After the main bit of cutting was completed, I wanted to kick over to the fun but toxic bit – paint time. I set up a little paint box in the corner of the garage and had purchased a couple of cans of acrylic spray paint. I ended up putting on three coats of white paint for the body and 3 coats of grey paint for the domed head. This was three nights of drying as well – hence why it took me a few weeks to pull together – a lot of elapsed time.
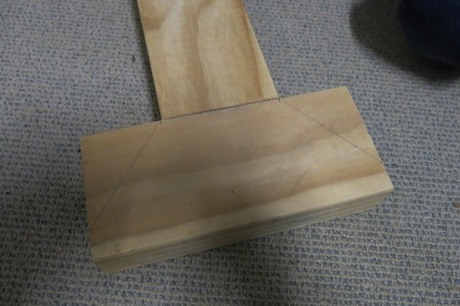
On the nights that I was not applying the paint, I continued with the construction of the legs. The next step was to trim the feet, which were generally trapezoid in shape. Again the mitre proved its value with the pre-defined angles coming into use. The initial angle from the base of the leg into the foot would then be overlaid with a second steeper angle where the real cut would be made.
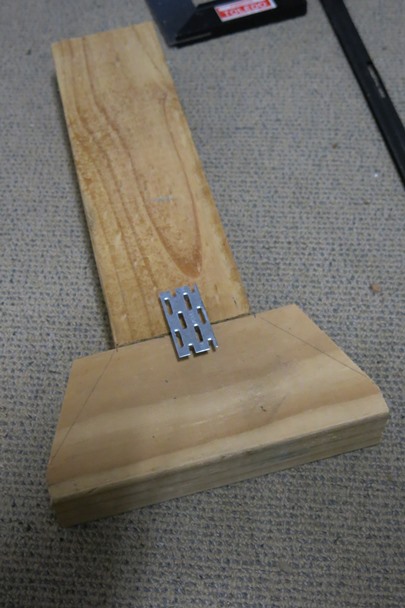
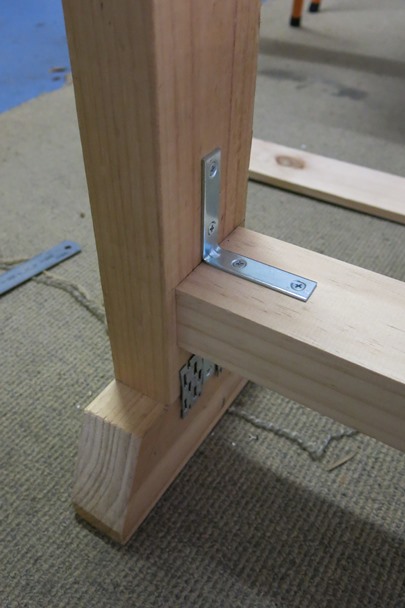
Once the feet were trimmed I was able to then start with the join. There were a couple of ways I could of done this, but I chose a simple gang nail plate that I bashed into the wood via a mallet.
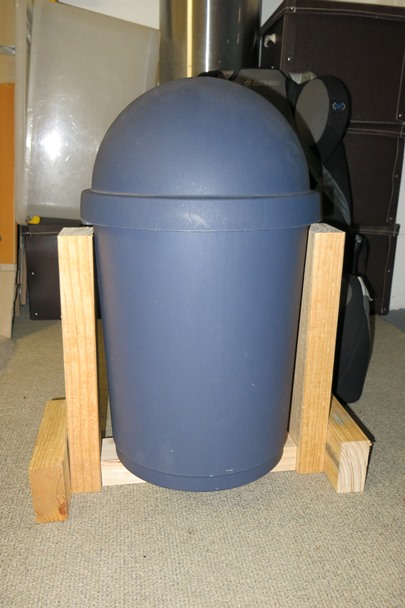
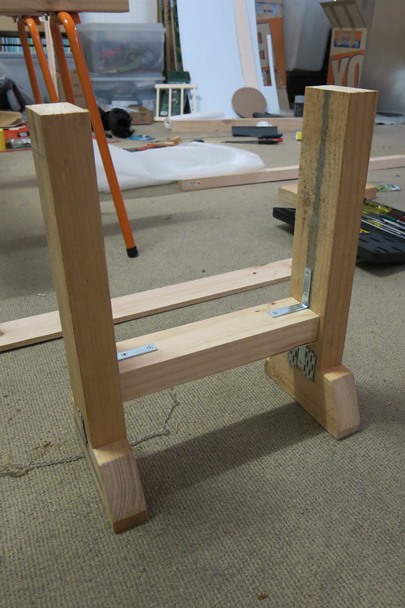
The next step was to get the legs together against the supporting cross-bar. With the aid of four “L” brackets and their screws, I joined the legs and cross-bars together.
Now we are talking! Artoo, we are beginning to see you.
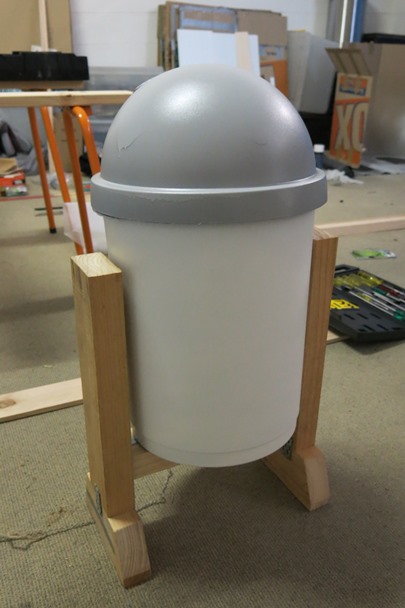
Now that the leg construct was coming together, the first reassembly of the painted body was needed. My son and I began to get excited on first viewing – Artoo was shaping up quite well.
A quick test for fit by inserting the body was required to take in any further adjustments on the legs or cross-bar. I ended up having to shave of 25mm off the cross-bar to have the legs more closely aligned to the body.
I removed the body after this so that I could spray the legs with multiple coats of white paint. The wood didn’t take to the spray paint as well as the plastic body of the bin.
Detailing the Droid
Here is where the fun, and most of the time came in. Artoo is a droid with much detail on both his head and body. To be accurate, I needed to detail the construction of Artoo with more decoration. Rather than settling for paint markings directly onto the droid, I detailed paper and card with blue, white, and silver pens to represent his arms and hatches. But first I started with the eye which has seen the full history of Star Wars and never had its memory erased.
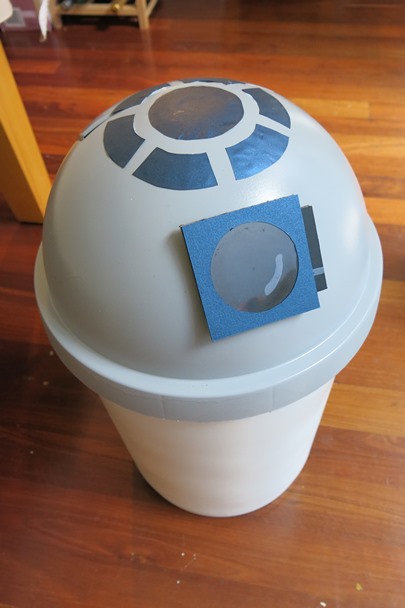
I took a multi-layered approach with some 12mm foam card where I carved the back end of it to be more circular in line with the dome. The black card was then detailed further to represent a faux reflection of the glass eye itself. The shinyness of the glass eye was done via a transparency sheet over the top of the black foam card. To top it all off I placed the final bit of blue card to represent the top plate.
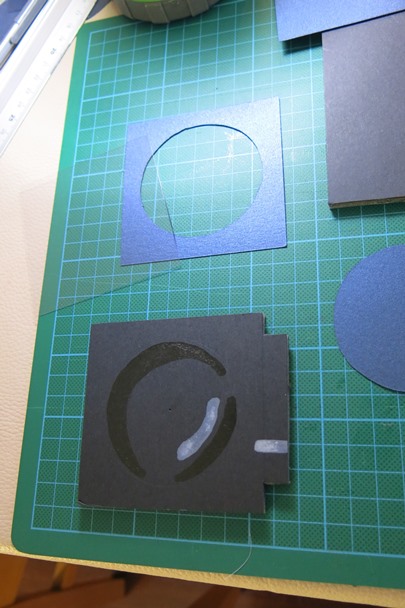
A bit tricky, but I think it achieved the effect. You can see the first set of markings on his dome placed on as well. I am not entirely happy with this detail as it was quite hard putting flat paper on a spherical surface. My patience with geometry was well out of the window at this stage.
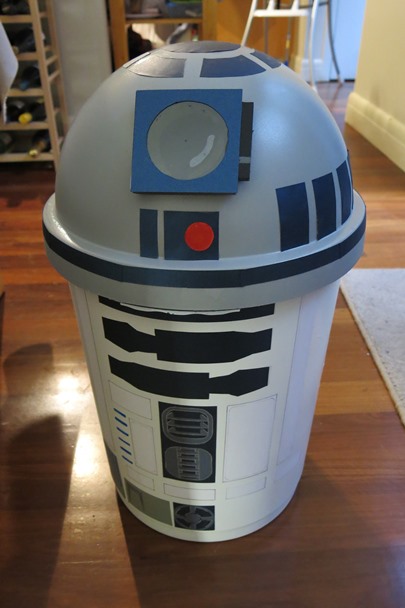
The remain detail on his body was probably more time consuming just trying to get right the proportions of all the hatches and his arms. In the end, I landed on it, with a bit of eye judgement and the eye and dome as a reference point. I also used copious images from the internet to see as much detail as possible. This is definitely beginning to look like the droid that I was looking for.
The Bladder
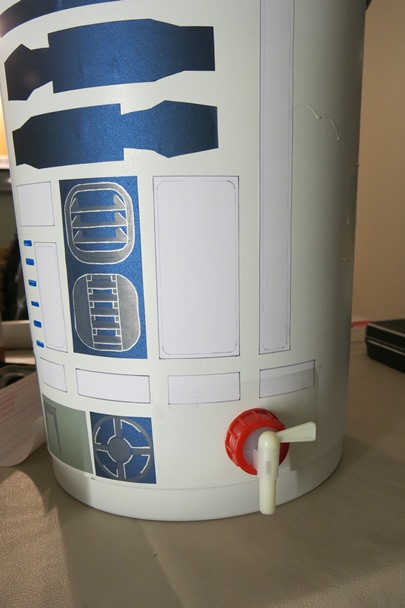
Now here is where I had a major decision to make. Do I put the water valve in the centre of Artoo for symmetry, or put it off to the side? Given that it was a kids birthday party and I didn’t want to create a “urinating” Artoo, I decided to offset the water bladder and valve. But first I needed to cut a hole out for the valve. To protect the paint and the detailing on the body, I put a plastic contact sheet over the patch for the valve before I made the cut.
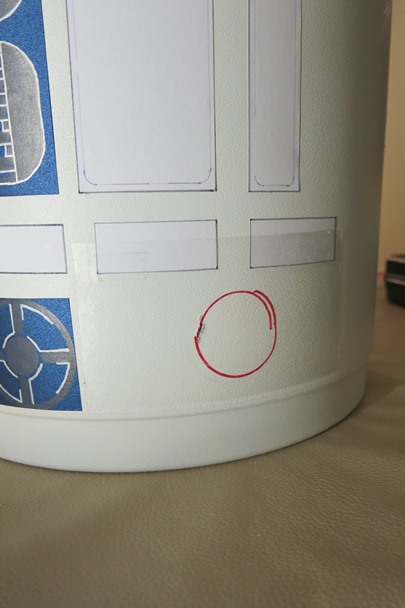
I thought that the cut hole for the valve was going to be difficult, but in the end the scalpel blade cut through the plastic body like butter (or should I say as easy as a lightsaber). Inserting the bladder through the hole, the valve fit perfectly.
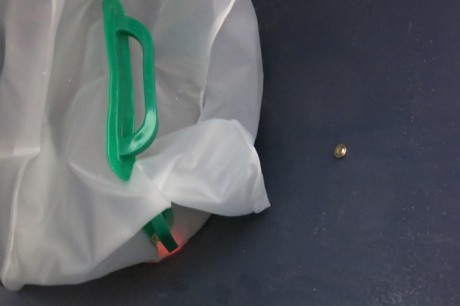
Looking inside Artoo’s body, you can see the 10L water bladder. You can also see the screws from the inside attaching the body to the legs. I sourced the bladder from a camping shop and had to be careful to get one that was safe for drinking use.
With the final bit of detailing done, Artoo was ready to roll and meet the 5 year olds. I was quite chuffed with the result, but being the perfectionist I would like to finish him off with the rounded detail on the top of his legs. That may come at a later date.
Our Artoo is now available for weddings, funerals, baptisms, and BBQs. And we now have a droid sitting at home looking at us as we go about our business.
Only 6 more sleeps to go before we see him in action again on the big screen. Next year, it will have to be a BB-8 lolly tub.


