Archives for category: MTB Project

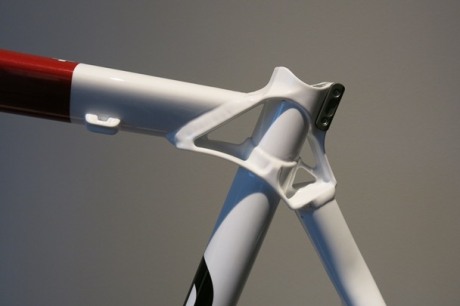
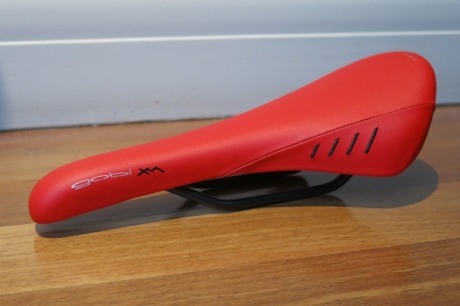
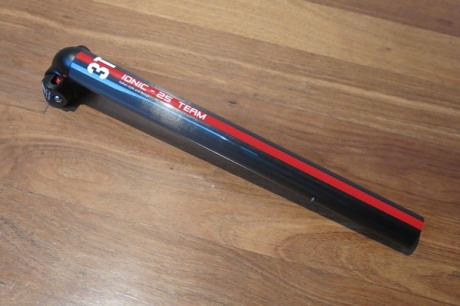
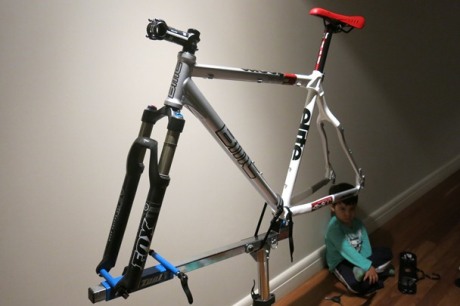
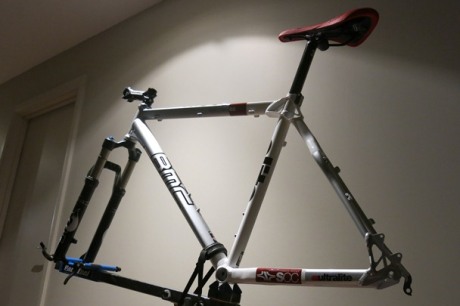
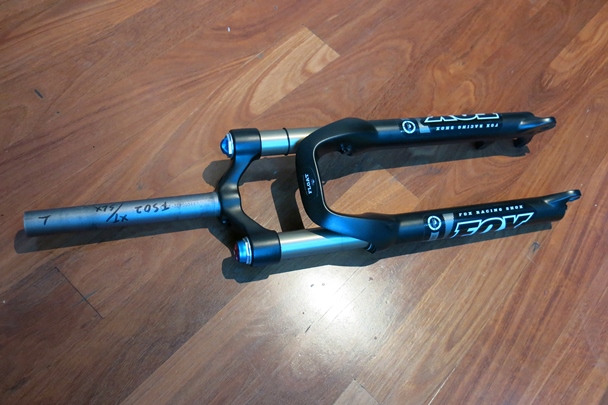
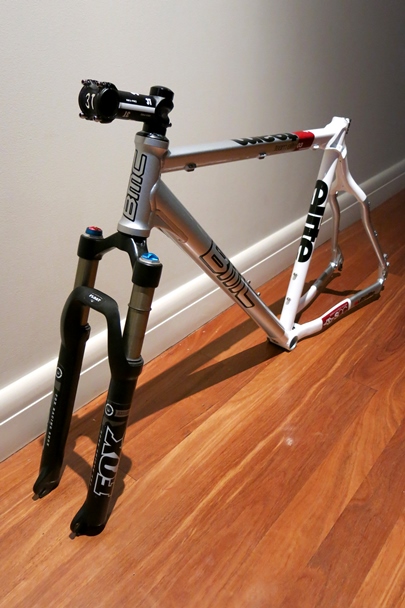
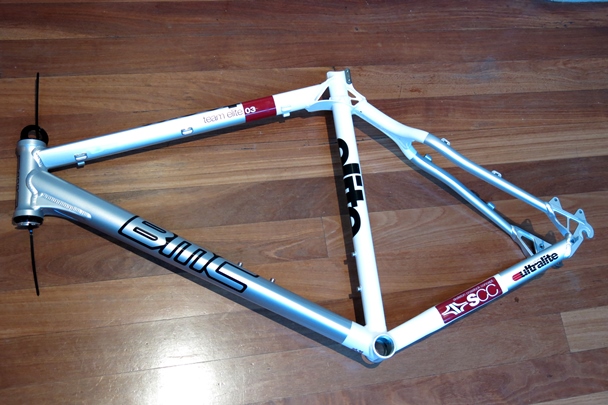
My MTB construction project continued with the installation of the second of three sets of contact points – the bar and grips. I had already got the frame (part 1), the forks and stem (part 2) and the seatpost and saddle (part 3) assembled. I had an idea that the additions of bling could be continued, but not at a ridiculous cost. Now the Velominati Rules also state in Rule #8 that saddles, bars, and tires should be matched. One must adhere to the rules 🙂

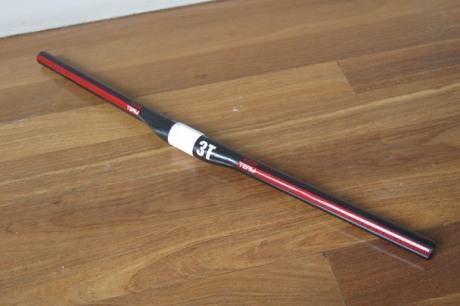
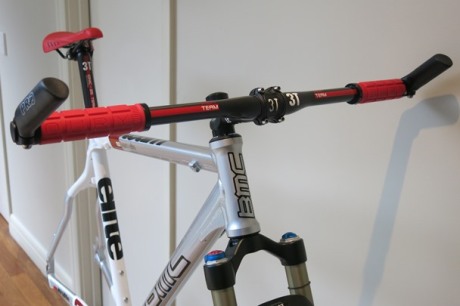
On my new MTB dualie steed (my BMC Fourstroke FS02) I have carbon 3T Xida bars, and the comfort is seriously noticeable in the difference between a set of standard alloy bars. The other main thing about these bars is that they are not very wide, 640mm in width. I like the gloss black look.

New_Build_21

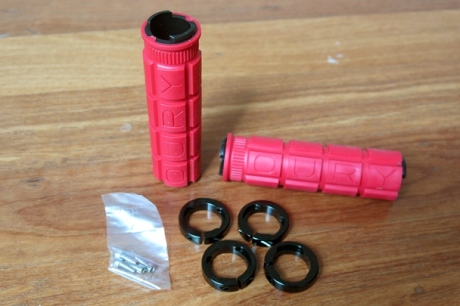
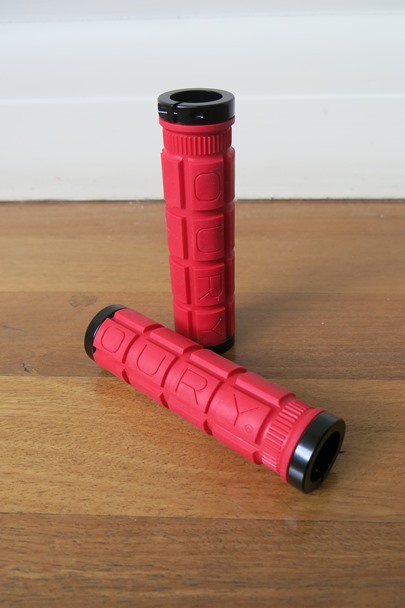
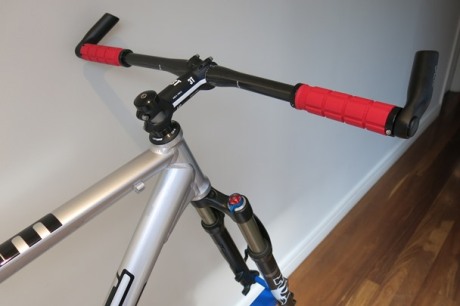
For the grips, I have tried many types and landed on a set from an American company called Oury who are famous for making BMX bar grips and also for motocross. They are clamped grips and have these big cushy patterns on them which leave funny marks without gloves but with them on are super comfortable and responsive.

New_Build_22

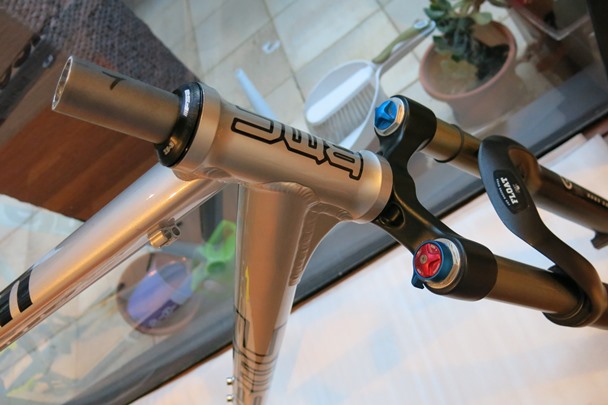
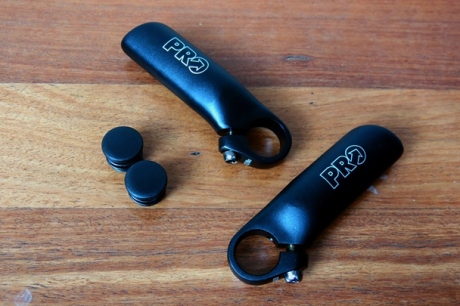
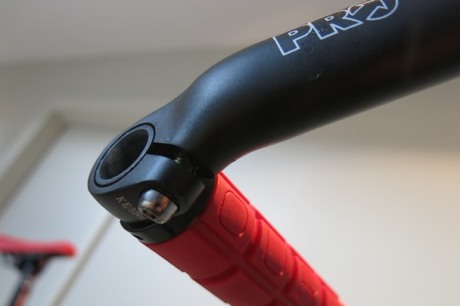
This bike was going to have bar ends on the ends on the outermost position against the grips. Bar ends are fantastic for climbing and give me that same sensation to grabbing the hoods on my road steed. The basic ones are big, ugly, and oversized. These ones from PRO are slightly smaller in size, but big enough to grip and angled in slightly. They also have an oval cross-section – a little more aero.

New_Build_23

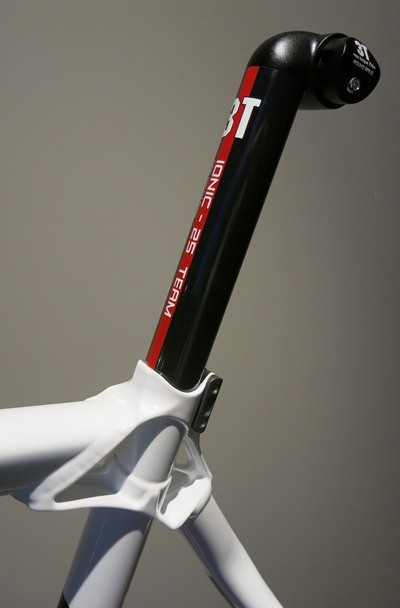
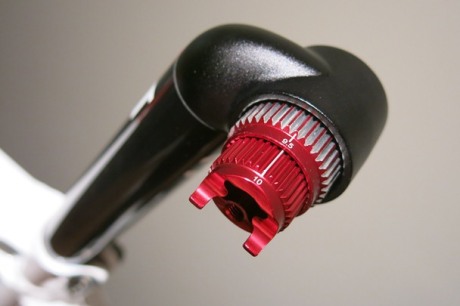
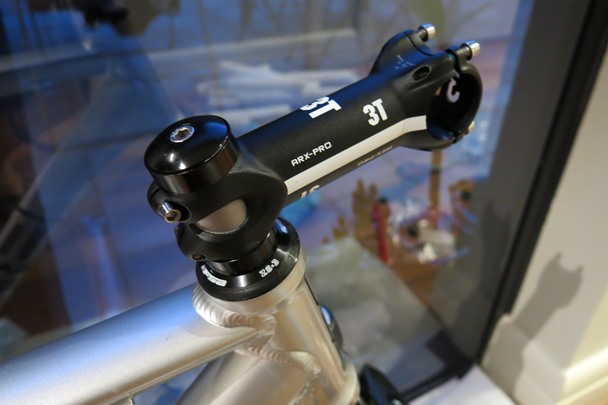
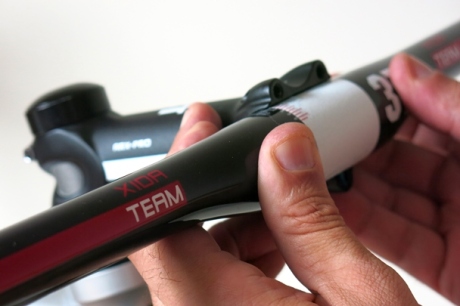
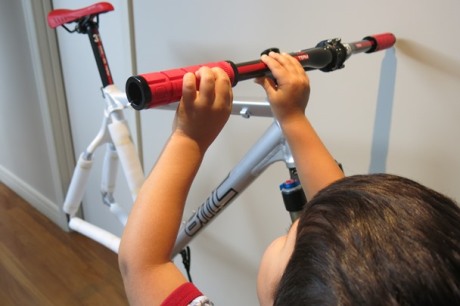
So I started with installing the bar within the stem. The 3T Xida has micro measurement marks for accurate placement and the white paint is all for the logo of the stem faceplate. My wife took this photo.

New_Build_24

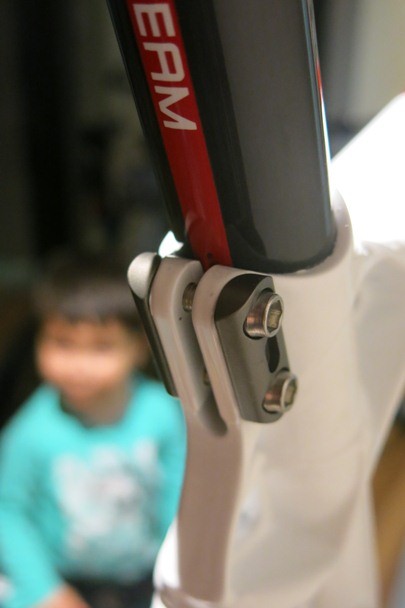
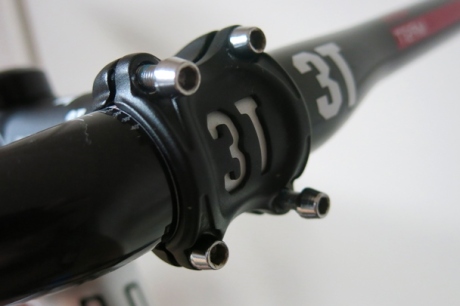
Installing the faceplates and the bolts, it is critical to apply even tightening against the bar so it maintains its position. So diagonally opposite bolts tightened first. My Park Tool torque wrench came into use as there is a maximum torque setting of 5NM on the faceplate bolts.

New_Build_25

Next was attaching the clamp ends to the Oury grips. On my other bike I had to pull out the mallet on these, but for whatever reason I just had to apply some muscle and they popped in.

New_Build_26

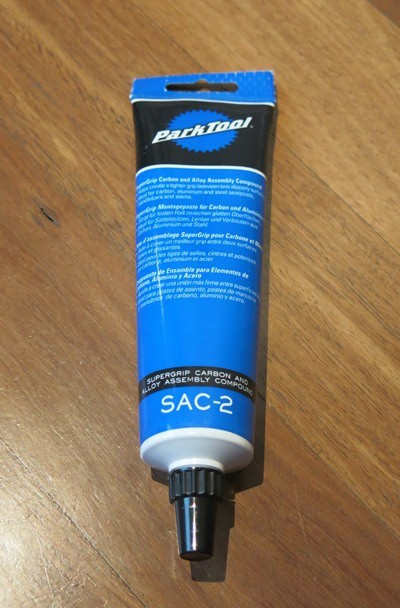
My son, AKA ‘The Pok’, wanted in on the action and was begging me to allow him to help. So I told him that he could install the grips on bar. He loved it, but got an icky sensation when he felt the carbon alloy assembly compound that I placed on the bar for the clamps to grip.

New_Build_27

Installing the bar ends was next. This bit was tricky because you have to get the angle of the ends right, on both sides. No doubt I will be adjusting the angle after I take it for a spin. The bolt that you see on the bottom tightens the ends in place.

New_Build_28

The bolt that tightens the bar end again required the use of a torque wrench to tighten. The torque tightness required for these bolts was 5.5NM.

New_Build_29

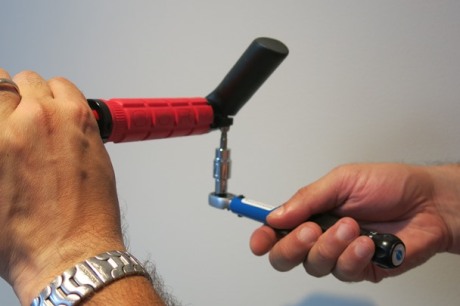
The Oury grip clamps also needed to be tightened into place, with smaller 2.5mm hex bolts. The torque tightness on these ones was 5NM. I was worried about snapping the bolt heads.

New_Build_30

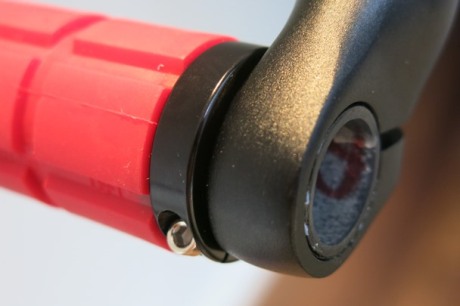
The final bit of the installation was plugging the bar with the caps that came with the grips. This required a bit of cutting as they were slightly over sized on the plug inserts. But once in these babies were not coming out again any time soon. Here is the finished installation. The cockpit looks quite clean, but it will quickly get cluttered when I installed the shifters, brake levers, light, and computer mount.

New_Build_31

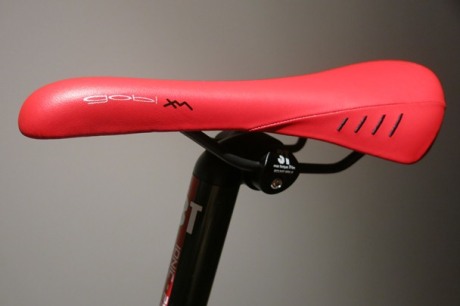
Here is how it looks blinged up against the saddle. Remember – red stripes make you ride faster.

New_Build_32

Next part is the rubber and wheels. I have an interesting choice up my sleeve. The project continues!


My new MTB Project had taken a pause with… life, but super sales from online cycling shops allowed me to acquire two key components for the contact points. The seatpost and the bar (handlebar). So construction was able to continue on from where I left off on the previous two stages of the build (part 1 and part 2). While I thought the next components of construction were going to be the wheels, I couldn’t resist installing a bit of bling with the saddle.

The frame that I acquired was quite unique in that seatpost clamp is built into the frame within the seat tube. The other aspect is the way the top tube and seatstays are connected to the seat tube is quite unique as well. I guess it is typical BMC Swiss design style.

New Build 11

My saddle of choice for this build is the same as the one that I ride on my other MTB (VTT), a fi:zi’k Gobi XM. But not just in black, the one I acquired on eBay is bright red! Bling! I intend to match the colour to my bar grips. The Gobi XM is an awesome saddle, and perfect for anything off-road. It has the “wingflex” capabilities of the other fi’zi:k saddles and has that little bit of extra cushioning. On my second 200km Around the Bay in a Day, I swapped out my road saddle for the Gobi to get that little bit of extra comfort and it worked (i.e. my butt was not sore from the ride). So from a comfort point of view it works on the long distance haul too. The other great characteristic of this saddle is the clip system that allows me to connect up my saddle bag directly into the clip under the saddle. I have no intention of grabbing another saddle bag, just swapping it out between my two off-road rides when needed.

New Build 12

Being a hardtail ride, I wanted a bit of additional comfort for my rear contact point. The frame is alloy, so I chose to spec up the seatpost to carbon (flex and strength rather than just strength). Keeping with the Italian component theme, I found a heavily discounted 3T Ionic Seatpost in the team edition colours (i.e. with a bright red stripe). It looks the business, if only they made it in white…

New Build 13

To assemble the seatpost into the frame, I was going to need both my Park Tool torque wrench and a special fluid compound for carbon and alloy assembly. Again I sourced the Park Tool stuff for the job – the SAC-2 compound. This stuff is critical for two reasons, primarily it provides extra grip between the two different material types through silicon bits in the fluid, but secondarily it provides a waterproof seal down the seatpost.

New Build 14

After first measuring the distance between the centre of my crank and seatpost to saddle clamp, I liberally applied the compound around the part of the seatpost that would be inserted into the seat tube. I then inserted the seatpost to give me the same saddle height. It felt quite different inserting the seatpost with the assembly compound, and straight away I knew it was already doing the job.

New Build 15

The 3T Ionic is again unique in being able to set micro adjustments to the saddle forward angle with a series of concentric teethed cyclinders providing the mount. Some of the online bike store reviews call this a gimmick, but for me it allows me to set the exact same saddle forward angle between all my steeds.

New Build 16

I tightened the inbuilt clamp bolts to the specified 5 N m of torque. This is critical not to over tighten carbon components, otherwise they quite literally collapse under the pressure. You can see my assistant mechanic, The Pok (AKA my son), in the background. He once again attempted to “steal” my hex keys.

New Build 17

Next I set the saddle into place, using the measurement from the centre of the headset cap to the tip of the saddle as my guide. I will probably still have to adjust my saddle front angle after I have the bike parallel. The saddle bolt clamps were specified to be tightened to 7 N m. Again the torque wrench came to use.

New Build 18

The frame is looking a bit frankenstein-like, but with the installation of the bars, that should make it look a lot more like a “bike”. Having said that, it is coming on! This is from the front…

New Build 19

and from the back…

New Build 20

The build continues 🙂


Work has been rather busy of late, leaving me not much time to continue with my passions being either riding, photography, or this blog. But I am snatching an opportunity on a Sunday night to kick on again.

The next and easiest parts to assemble for my new MTB build are the forks and stem. The forks have been canabalised from another one of my bikes (my new BMC Fourstroke FS02) which were replaced by a set of kashima coated Fox Racing suspension forks. As a result, these forks are a reasonably high and recent spec being Fox Float 32 RL 100. These were pretty much standard on the medium level 26″ bikes and are a pretty decent set of kit. As the name suggests, the forks have 100mm of travel. The other aspect of the fork spec is that the fork stem is straight at 1 1/8″ in width – again standard at the time, but a lot of the newer forks are now tapered (I assume to allow for more stability and force to flow through the forks and subsequently the headset).

New_Build_02

Being canabalised from another bike, one of the trickest parts of the construct – install of the star nut – had already been done. In addition, the length of the fork steerer tube was pretty much cut to the desired length, so no tube cutting required.

This is a star nut not installed.

New_Build_05

And this is where it sits within the steerer tube.

New_Build_06

The other parts that would be going on are the stem, for which I grabbed a 3T ARX PRO at 110mm in length. This component is not uber light, but then again I could stop eating sweets and lose a few kgs to achieve a more efficient weight saving.

New_Build_03

There is one thing that is fiddly with this component, the torque setting on its six clamp bolts. For that I would need the first of many specialised tools that I will need to use to build this bike, a torque wrench. My Park Tool TW5 Torque Wrench is my new pride and joy in the tool box, though it does take some getting used to (that is another story).

Park_Tool_torque_wrench-TW5

And of course I would need a headset top cap with compression bolt and a couple of headset spacers (again recycled from old bikes). I will replace the cap with a bit of personalised bling, but I have to procure that part first.

New_Build_04

The next part of the assembly was to place the lower crown race onto the top of the fork crown over the steerer tube. This is an important part to keep both the headset bearings sealed and fork into position (it is effectively a big washer).

New_Build_07

I then pushed the fork through the headset, but without the wheels this was tricky because the wheels and weight of the frame were not pushing the forks up – I had to apply pressure on the frame to keep it in place.

New_Build_08

The final step of this part of the assembly was to place the spacers, stem, and then compression bolt / cap onto the steerer tube and tighten everything up. I must admit that I had to do this a few times, as the first couple of times I either hadn’t got the components compressed down tight enough or spacer combination sorted properly. I used the torque wrench to tighten the clamp bolts to the required 5NM to ensure everything was the “right” tightness. The Zinn MTB maintenance bible also noted that it is important to put grease on the inside of the spacers and the stem so that they don’t seize up onto the steerer tube.

New_Build_09

I will probably have to check the alignment again once I get the handlebar in place.

Here is the build so far, it is starting to look like a bike :-). I probably would have preferred to colour code the forks to the frame, but the second hand forks are too good to not reuse.

New_Build_10

Next part of the assembly will be the wheels, and I already have a head start – that is for the next post.

Over a year ago I started on a dream of mine to build my own custom mountain bike from the ground up. I had sourced a carbon hardtail frame (after getting approval for my home’s minister for fun and finance – I know, a confused portfolio and one I continue to fall afoul of), and over the course of 9 months sourced every single part from all over the world for half price or better. This project was my custom Trek Elite XC 9.8 – and it got stolen! The NSW Police caught the drug addicted thief and my insurance company came to the party and replaced it with my wonderful BMC Fourstroke FS02 – which is better than its engine (me). But it is such a good bike that I don’t want to ride it to work, or even get it scratched for that matter (I know what some of you are thinking – it is a mountain bike for crying out loud, it is going to get PLENTY scratched).

More importantly, I want to build something again that I can say is by my hands. I had plenty of assistance from my LBS on my last build, but this time I’m determined to build this one as much as is feasible by myself. I had recently acquired a copy of “Zinn and the Art of Mountain Bike Maintenance”, which is practically the bible for fixing MTBs.

Zinn_Art_Mountain_Bike_Maintenance

But this book is so gorgeously detailed that it goes beyond maintenance and will be my guide to my new project. My new project being a custom build hardtail MTB. Time to build something!

The New Project

So I searched high and low for a frame, and found one. This is the base for the new project. I don’t have the skills (yet) to fabricate a frame from scratch, and even if I did I would probably want to fabricate a cyclocross / tourer. In all practicality I was not going to find an affordable carbon fibre hardtail frame like my last beloved. eBay was the source of my find, and it was a good one – even though it was from a couple of years ago. I grabbed a BMC Team Elite TE03 hardtail alloy frame from 2008 from a seller in Singapore. It probably “fell off the back of a boat” on the way from Taiwan to Europe, but they don’t sell these babies anymore. She is a looker with silver / white / dark red scheme. For an aluminium alloy the frame is reasonably light at 1.6kg, but definitely heavier than the old Trek hardtail. Here is the start of the project, the naked frame:

New_Build_01


I was a bit nervous acquiring the frame online from a seller in Singapore, as this was a few hundred dollars of investment. But the bloke who sold them had a 100% record and the frame came shipped in immaculate condition.

The build has effectively commenced with the first component installation being the headset bearings (an FSA headset that the eBay seller provided with the frame). I had to get my LBS to press it in using the specialist tool that costs about $600 to purchase, and therefore not practical for a one build owner to ever buy. I could have used the old wood block and mallet trick, but to be honest I don’t have vice that can lock in the frame while I bashed the bearings in. But this is probably the last component that I intend to get assistance with. I might need rescuing with the black art of cabling, but I will give it a go first.

The high level spec for the bike will be a 26″ alloy MTB hardtail fitted for urban and gravel trail type riding. I will detail the specification as the build comes along.

The whole mantra for the bike is going to be the best for the cheapest. I already have the forks, wheels, brake discs, and rear cassette. I have acquired 75% of the other components, and looking for the sales on the online sites to finish procurement of the components. Most importantly I now have the tools to undertake the assembly with the prize being a Park Tool torque wrench (the best tool a man could own).

I don’t just want to be a dumb consumer. I want to know how to build something and then do it. I don’t get this fulfillment from my day job. More importantly, looking at the way my son has taken to ‘building’ things, I want to show my boy that there are skills that shouldn’t be lost – even if he is growing up in a disposable consumer society. By the time the new build is finished I will have hit S-1 in the stable (if you don’t know what I am referring to then look up the Velominati Rule  #12).