My MTB construction project continued with the installation of the second of three sets of contact points – the bar and grips. I had already got the frame (part 1), the forks and stem (part 2) and the seatpost and saddle (part 3) assembled. I had an idea that the additions of bling could be continued, but not at a ridiculous cost. Now the Velominati Rules also state in Rule #8 that saddles, bars, and tires should be matched. One must adhere to the rules 🙂
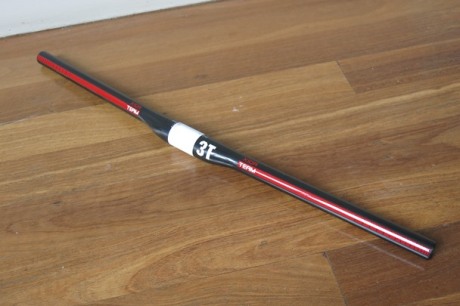
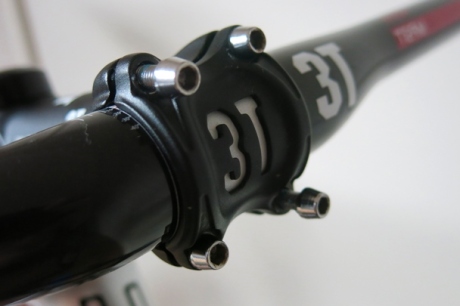
On my new MTB dualie steed (my BMC Fourstroke FS02) I have carbon 3T Xida bars, and the comfort is seriously noticeable in the difference between a set of standard alloy bars. The other main thing about these bars is that they are not very wide, 640mm in width. I like the gloss black look.
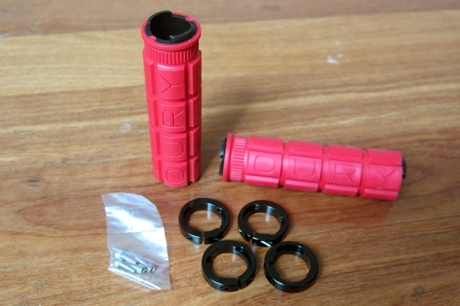
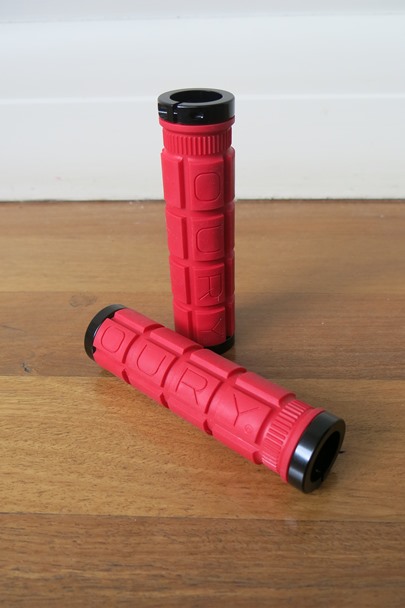
For the grips, I have tried many types and landed on a set from an American company called Oury who are famous for making BMX bar grips and also for motocross. They are clamped grips and have these big cushy patterns on them which leave funny marks without gloves but with them on are super comfortable and responsive.
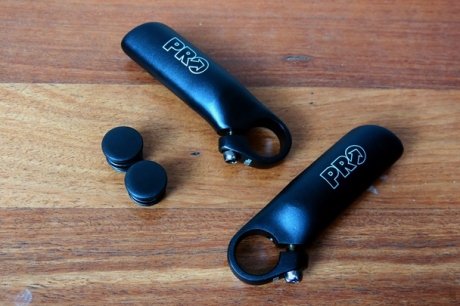
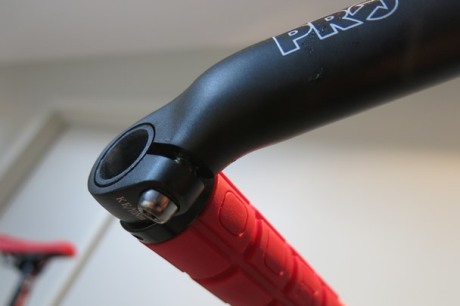
This bike was going to have bar ends on the ends on the outermost position against the grips. Bar ends are fantastic for climbing and give me that same sensation to grabbing the hoods on my road steed. The basic ones are big, ugly, and oversized. These ones from PRO are slightly smaller in size, but big enough to grip and angled in slightly. They also have an oval cross-section – a little more aero.
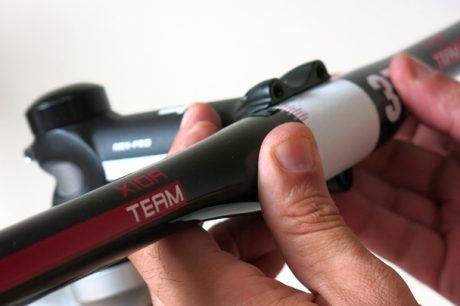
So I started with installing the bar within the stem. The 3T Xida has micro measurement marks for accurate placement and the white paint is all for the logo of the stem faceplate. My wife took this photo.
Installing the faceplates and the bolts, it is critical to apply even tightening against the bar so it maintains its position. So diagonally opposite bolts tightened first. My Park Tool torque wrench came into use as there is a maximum torque setting of 5NM on the faceplate bolts.
Next was attaching the clamp ends to the Oury grips. On my other bike I had to pull out the mallet on these, but for whatever reason I just had to apply some muscle and they popped in.
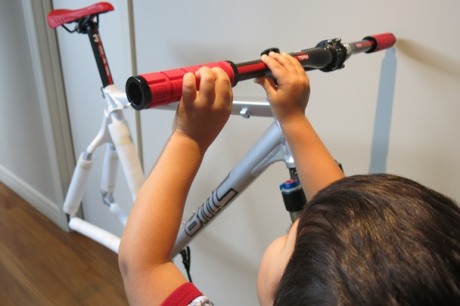
My son, AKA ‘The Pok’, wanted in on the action and was begging me to allow him to help. So I told him that he could install the grips on bar. He loved it, but got an icky sensation when he felt the carbon alloy assembly compound that I placed on the bar for the clamps to grip.
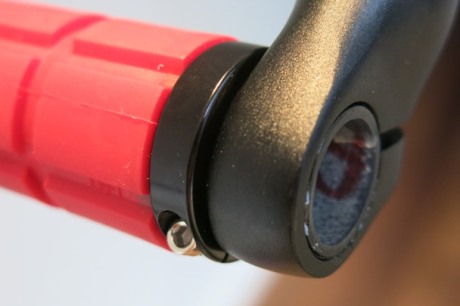
Installing the bar ends was next. This bit was tricky because you have to get the angle of the ends right, on both sides. No doubt I will be adjusting the angle after I take it for a spin. The bolt that you see on the bottom tightens the ends in place.
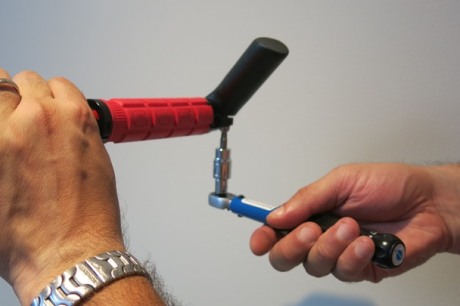
The bolt that tightens the bar end again required the use of a torque wrench to tighten. The torque tightness required for these bolts was 5.5NM.
The Oury grip clamps also needed to be tightened into place, with smaller 2.5mm hex bolts. The torque tightness on these ones was 5NM. I was worried about snapping the bolt heads.
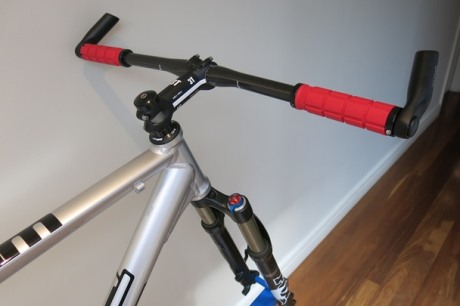
The final bit of the installation was plugging the bar with the caps that came with the grips. This required a bit of cutting as they were slightly over sized on the plug inserts. But once in these babies were not coming out again any time soon. Here is the finished installation. The cockpit looks quite clean, but it will quickly get cluttered when I installed the shifters, brake levers, light, and computer mount.
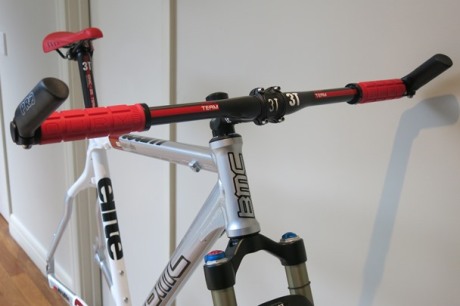
Here is how it looks blinged up against the saddle. Remember – red stripes make you ride faster.
Next part is the rubber and wheels. I have an interesting choice up my sleeve. The project continues!

